

Dear friends,
This month host for our monthly Ambassadors' Spotlight is Keren Tamir. She wanted everyone created something steampunk :) So here they are - our talented Ambassadors: Keren Tamir, Kassa Hayselden, Riikka Kovasin and Linda M. Cain with their fabulous projects!

Do you get stuck when you need to apply color on your projects? Sometimes we worry so much about composition that we forget that what gives our project that Wow factor is the colors we use and how we apply them.


In this video I will help you learn how to apply ONE color combination that has always given me excellent results to create a patina rusted effect on your projects
Why Just ONE you might ask?,
I know you want to know them all but I believe you’ll agree with me that Learning ONE good color combination is better than knowing none.


I will be using Finnabair Fluid acrylics today over some moulds.
Here is the video below:
 |  |  |  |  |  |
 |  |  |

Hi loVelies, hope you are all keeping safe & well x
Today I’m sharing a little ‘steampunk’ inspiration, it’s Kassa style steampunk, teehee I actually can’t remember doing anything steampunk before! Anyways I sat down with a load of crafty treasures out in front of me and basically went from there...I winged it!


I hope you enjoy this steampunk page combined with Finnabair Art Alchemy Uber colourful paints/waxes etc - there’s also a YouTube video! YeY!
Lots of warm hugs Kassa xoxoxo
Ingredients
 |  |  |  |  | |
 |  |  |  |  |  |
 |  |  |  |  |  |
 |  |  |  |  |  |
 |  |  | |  |  |
 |  |  |  |  |  |

I really love using recycled or rather re-purposed items in my makes. Adding some found items or items with stories in the mix with bought supplies makes the finished piece much more personal and adds to the interest, too. Junk can be so beautiful!


I actually have a big drawer full of items and then some, but what I try to do, is to go through it once a year so I don’t hoard stuff too long. If I haven’t used a bigger piece within a year, it goes to recycling. But there’s so many gems in there! One of my recent favorites is empty tape rolls, one of which I used here as well. They have such a beautiful design that resembles a gear or a machine part.


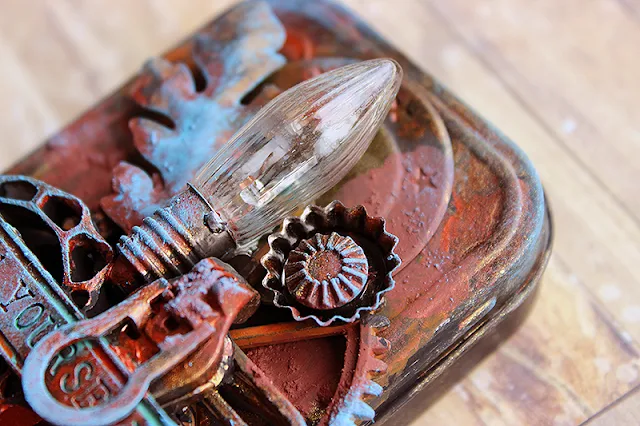


I had been saving this little tin for something fun and now it was a perfect time to alter it. I was hoping it would be a good container for an ATC, but unfortunately it’s a bit too small for that. But I can gather some repurposed goodies inside instead!
If you wish to see how I made the tin, please see the video.
 |  |  |  |  |  |
|  |  | | |  |
 |

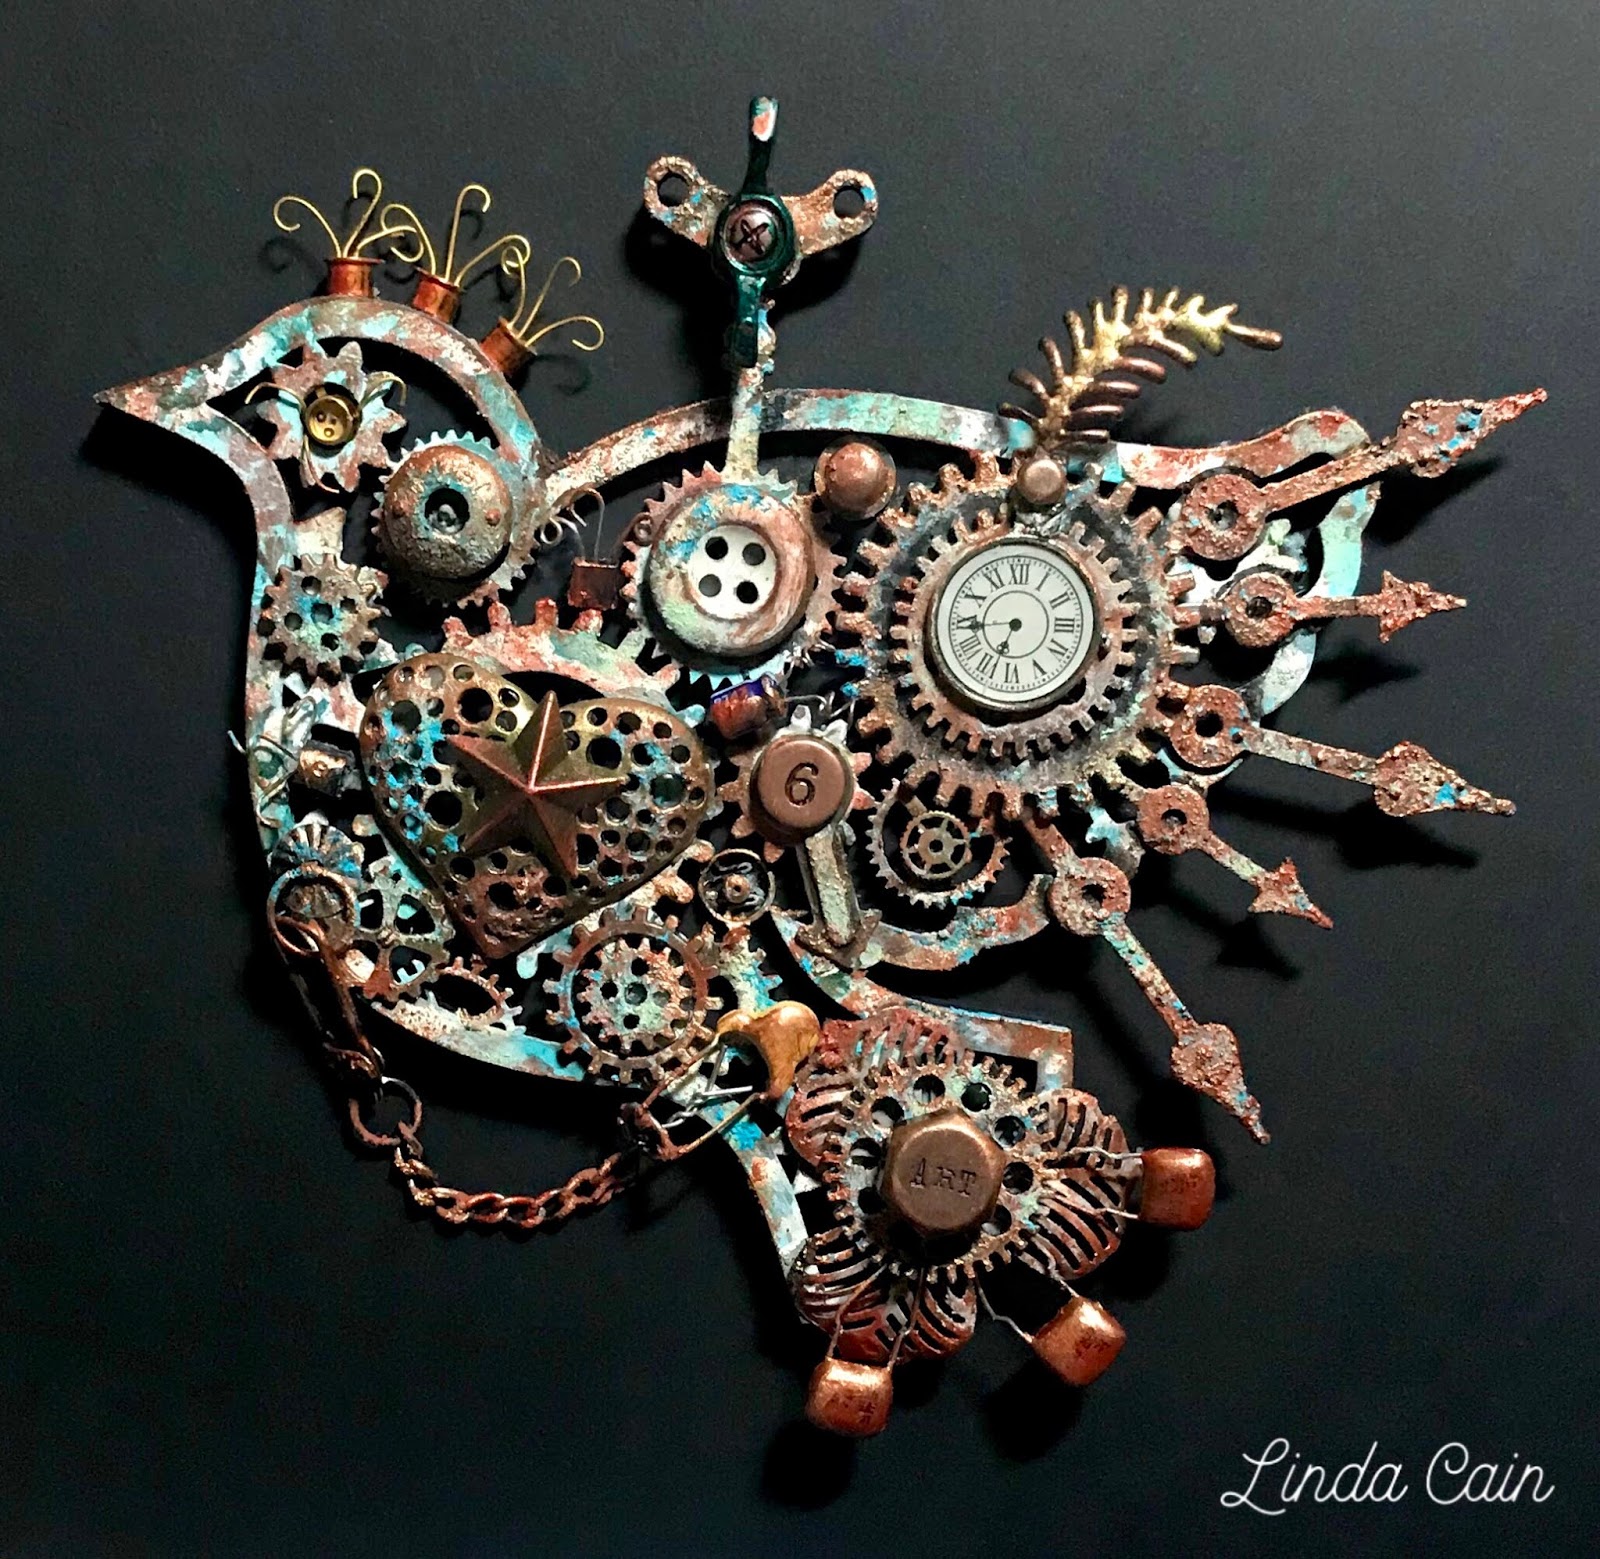
A few years back an art friend gave me a box of parts from a computer that had been torn down. They’re perfect for creating steampunk projects. I enjoy bending and curling the wires with jewelry tools. That, along with several Mechanicals from Finnabair, and the metal embellishments found in my stash, brought this masonite bird to light. He/she can hang in a window from nylon thread in my studio.


I started with the 2 pieces of the layered steampunk bird ornament and painted them with heavy black and white gesso; black on back and white for the front. Then I added Impasto paints and Sparks for background. The Rust Effects pastes and Metalliques are painted on the pieces. Next I glued the ephemera to the front with 3D Gel. Add more paint and dry-brushing to the raised areas. Shading with a brush permanent-ink pen adds a bit of dimension to the pieces. The hardest part is to know when to stop. The possibilities are endless. Create ART.
| | | | |  |
 | |  |  |  |  |
 |  |
Have a great day!!
Finnabair Team

No comments:
Post a Comment