Monday 29 June 2015

Vintage in Red

Hi everyone,
New week, new project. Today's creation is so close to my heart. Monika will show you that you don't need many fancy tools or products to create a master piece. Use some paper bits, coffee stain and here you go recipe for an amazing mixed media background. See it for yourself!


Hello,
I'm so excited to show you my newest mixed media project. I created a small canvas.

  
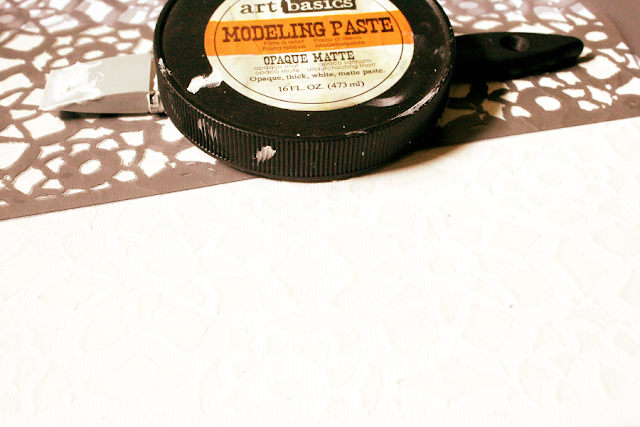
First, I applied Modeling Paste through a Lace stencil. It took me just a short moment to dry the texture with heating gun.


My next step was to cover my piece with a layer of Heavy White Gesso. Next, I started layering my doilies and paper paper from Sunrise Sunset collection – I cut it into small pieces that I stapled together.


I used plenty of paper scraps, some cut-outs and other leftovers which I could find on my desk. Then, I added a thin coat of gesso.


I glued all my elements in the desired place. I added some Mechanicals embellishments to complete my composition. When everything was dry I picked stamps form Vintage Vanity collection.


For my final touches, I added some color using a tea bag, strong coffee and couple drops of red ecoline. Enjoy!


Happy creating!

Products from Mixed Media Place:

Sunday 28 June 2015

Clock, Horse and a Touch of Steampunk and Glitter...

Hi again, I'm happy to be back!
Today I've got a nice treat for you - one more altered clock frame, which was made during one of the classes designed for Indigoblu - which means it was unique, one  and only chance to take this class. I had a great time there and I wanted my students to feel encouraged to play with texture building and decorative techniques, so we were using a large range of Art Basics, Art Ingredients and Art Extravagance products!


We've started with  adding some distressed, time-worn look using Art Extravagance Graphite Paste and next decorating the frame using tons of embellishments and Art Basics 3D Gloss Gel as an adhesive.Then - there were layers of Art Basics Heavy Black Gesso and a selection of Art Ingredients Mica Powders!


Inside of the frame was heavy decorated too - not only the inside edge of the clock frame was decorated but also the inside panel. We've taken the chipboard rocking horse (which you may recognize from my retired "Everyday Treasures" class), embellished it and mounted inside of the frame. Simple idea - but stunning effect.


Final touches were done with a selection of Art Ingredients: Mica Flakes, Glass Beads, Micro Beads... and of course some Fine Glitter! I wanted y students to have real freedom of choice and fun of trying different effects on their projects. I have to admit - effects were simply breathtaking: all the different colours, textures and compositions made this class totally unforgettable for me. I think i may be tempted to make a similar project with students in the future!


If you'd like to learn more about "how to" make similar altered project you can check one of my "Art Recipe" tutorials - they are posted here and here. I hope it will be useful and inspiring!


Here is list of the supplies I used - for your reference.
All of them are available in our Mixed Media Place Shop!


Thanks again and see you very soon! don't forget to check the blog on Monday - there's a new, great tutorial coming- as always made exclusively for you by one of my Creative team Members!
Sending hugs

Related Posts Plugin for WordPress, Blogger...