Hello Friends!
It's another inspiring Friday with my Creative Team!
Sanda is here with her brand new stunning artwork and today she's telling a beautiful visual story (something I love doing myself!).
There's a video tutorial and lots of tips from Sanda so I'm sure you'll feel inspired to join her and create something special this weekend!
Sanda is here with her brand new stunning artwork and today she's telling a beautiful visual story (something I love doing myself!).
There's a video tutorial and lots of tips from Sanda so I'm sure you'll feel inspired to join her and create something special this weekend!
* * * *
“Stories, like people and butterflies and songbirds' eggs
and human hearts and dreams, are also fragile things”
― Neil Gaiman
Hello, dear friends,
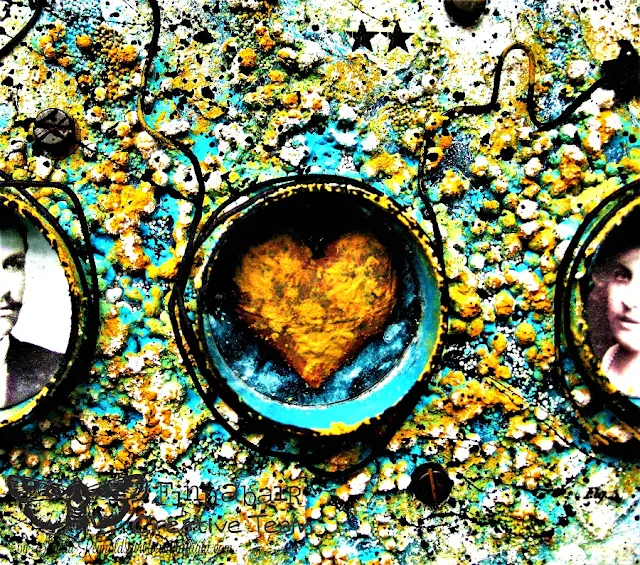
I am sharing with you today a mixed media collage/assemblage titled “Tell the story”.
My inspiration was sparked by some lovely old photos from Finnabair and three small tea light holders I had laying around on my table. I just love old photos and the stories they tell…
So I created a kind of vintage with a twist look project to compliment these wonderful Ephemera pieces.
After I gessoed a piece of MDF and dried it with my heating tool, I pulled out one of my favourite Finnabair stencils (the 'Harlequin' one) and I drew and shaded with a 2B mechanical pencil.
Next, I spread through a different stencil a generous layer of Paper Texture Paste (this is one of the most gorgeous texture paste ever to work with!!!), using a silicone brush. I dried this layer thoroughly with the heat tool.
For my first layer of colour, I chose two Art Alchemy Impasto paints (Cobalt and Black) and mixed them until I got a wonderful, rich and deep turquoise-blue.
After spritzing some water, I applied my paint with a brush, spritzed more water and tilted my board, to help the paint move and drip. With some baby wipes, I removed the excess.
I dried everything again and then, I glued down three recycled tea light holders using Heavy Body Gel and left it dry for a couple of hours.
For my next step, I sponged some Heavy White Gesso – this is one of my favourite techniques when I apply gesso. I simply love watching how the gesso catches the texture underneath, helping it to reveal itself in all its glory. 😊
I worked the gesso more towards the edges, as I wanted to keep the concentrated colour in the middle of my panel.
I created another layer of texture using Art Stones that I adhered with 3D Gloss Gel.
I left the panel dry completely and then I added more texture and colour using Rust and Patina Pastes. Do I need to tell you how much I love them? :)
TIP: To ensure you never have problems with your Rust and Patina Paste, like drying in the jar, when you work with them, try scooping out of the jar the amount you need and close the lid back immediately. You can always go back and scoop some more.
Sshhh, don’t tell anyone, but sometimes I forget my own advice too! LOL
Sshhh, don’t tell anyone, but sometimes I forget my own advice too! LOL
Next, I added some subtle background stamping, using the 'Old Town' and 'Dirty Walls' sets and a few embellishments (wire, two air dry clay birds, rub-on transfers, a word sticker, two Finnabair Ephemera pieces and a few Mechanicals).
As a finishing touch, I painted all the sides with the same mixture of Cobalt and Black Impasto paints and with the leftovers, I did some splatters.
Here is my video where you can watch my creative process and see the products I used.
Enjoy and have fun!
Have a lovely day, my friends,
Products used:


2 comments:
Thank you for sharing ! I always forget about my art stones and they add so much . I'm going to set them on my art table now so I'll remember to use them next time :)
Sanda,
This is absolutely stunning!
I love the way you rock Finn's products! the textures you build and the colors you blend- oh so gorgeous!!
Thank you for your inspiration always!
hugs,Jackie
Post a Comment