Hello, Friends!
I know this time of year can get quite hectic but I hope you'll find the time to stop for a second, put up the lights (Andrew and I just did! :) ) and create some art.
Maybe today's layout by Carole will give you the inspiration?
Let's celebrate!
Maybe today's layout by Carole will give you the inspiration?
Let's celebrate!
Hello Hello!
The magic of Christmas can be felt all around, we are ready and waiting for Santa Claus!
It's high time to decorate our home with beautiful lights and celebrate those special moments. Today I'd like to show you a layout that I made with lots of round shapes, not too many supplies but I really wanted to show you how you can transform the embelishments.
I wanted to create an impression of circles resembling little bubbles of light twirling around the photo!
I chose one paper from the Sunrise/Sunset collection for the background.
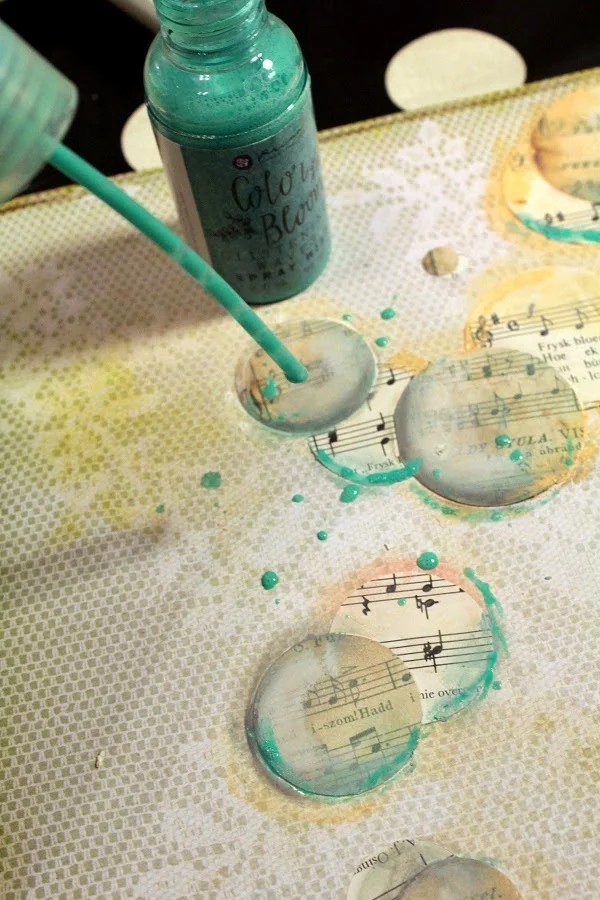
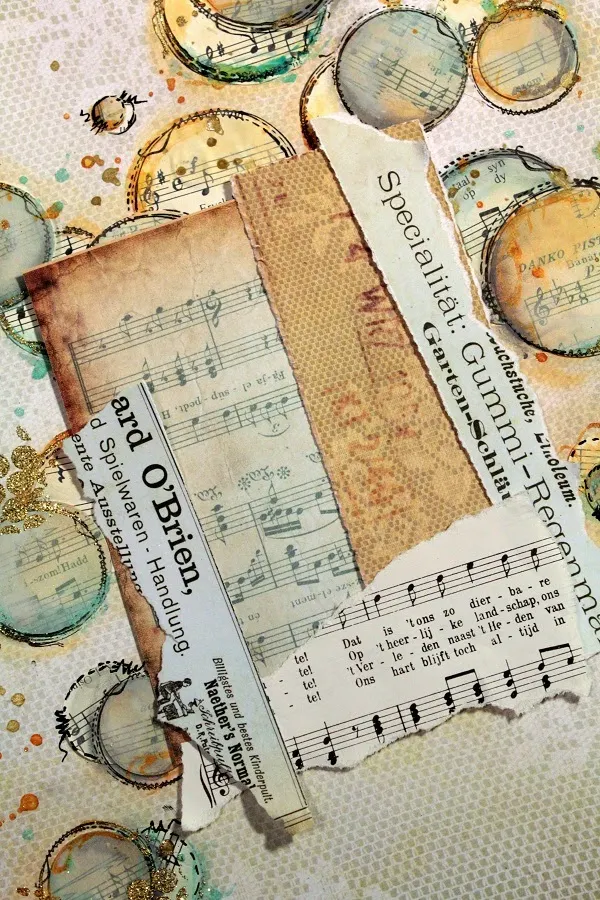
Using round punches in different sizes, I cut out circles in a paper with musical notes and glued them on my layout with White Gesso.
Using round punches in different sizes, I cut out circles in a paper with musical notes and glued them on my layout with White Gesso.
I covered all the circles with Clear Gesso. This gesso helps all the
inks adhere better to the surface, it's just a perfect medium for adding gelatos
and inks while still keeping the images and patterns visible.
When Gesso dried, I used three shades of Gelatos that I simply applied with my finger.
Around the edges of my circles I added Color Bloom sprays. I used the tip of the spray's nozzle to make some stains.
I added some stamping with black Archival Ink. I used round stitches stamps from Prima.
This immediately created the feeling of depth and dimension.
I wanted to add some texture to my piece so I used a Vintage Vanity stamp and embossed it with glitter metallic gold powder.
I took metal star-shaped brads and embossed them - some with black and other with gold powder.
Some "sewing" around the edge of the page - hand drawn with a black Posca pen.
I stapled together a few pieces of paper on which I attached my photo.
I wrote my title with an embossing pen, embossed with glitter metallic gold powder, cut it out and added to my layout.
I added a little bit of brass wire around my picture and my piece was done!
Hope you like my project and that you will feel inspired by it!
Materials used:


13 comments:
toujours aussi beau Carole !
merci pour ce partage
Love this and the depths of layers you got with the steps on your bubbles and the embossed cut out title. How did you cut out the title, with scissors or razor knife or some machine?
Very nice and soft. I like it!
Thank you so much ladies!!
Debbie I've cut my title with scissors! ;-)
so beautiful, thanks for the tutorial!
Your bubbles are fabulous. I'm always trying to find a way to make bubbles and I'll be trying this. Plus I've never heard of an embossing pen. The title is pretty amazing. Great layout all around!
Great page. I love it. Thanks for sharing, Johanne Lacombe
Absolutely GORGEOUS!
Just wanted to say this is very beautiful, love the bubbles and the colours are great.Merry Christmas.
Very cool - thanks for the tutorial!
Hugs
Andrea-Emmi41
Love the layers and that gold.
Gorgeous page with so many ideas! I love the turquoise and orange pops of colour in the otherwise subtle palette. And the gold title - that makes me really want the embossing pen!
Très belle page Carol, j'adore les effets que tu as ajouté !
Post a Comment