Friday is here which means it's time for a brand new inspiration from my Creative Team!
Today we meet with Linda and her super adorable little art friend named Jane... ;)
Hi everyone, Linda Cain here for my December visit with all you creative people.
For many years I've seen these wonderful little Works of Art using an altered tin, and have drooled over the contents of these little treasures. So today I share with you my attempt at finally making one for myself. I hope you'll give it a go. It was one of the most fun and creative little projects I've ever made.
1. I started by taking the lid off of an Altoids tin and smoothing the metal where the hinges were. Then I traced around the base onto a piece of adhesive backed silver metal and cut it out. Next I ran it through an embossing machine with a textured folder to emboss an image.
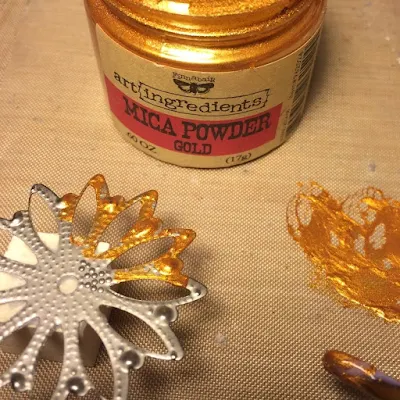
2. I used Deep Water and Purple Mica Powder mixed with Soft Gloss Gel to make a paint. These 2 colors were painted into the recessed areas of the embossed metal. When dry, I used a light sanding block to remove excess paint, and polish.
3. Black and Copper Micro Beads are glued into some of the indentations of the metal with Soft Gloss Gel using a Precision Tip Applicator.
4. I lightly sanded the tin and then gave it a couple of coats of Heavy Black Gesso.
5. Spread a medium coat of both Copper Crackle and Antique Silver Crackle Texture Paste sporadically on the sides of the tin. While it's still wet, I added Black Micro Beads and set aside to dry.
6. This is what it looks like when dry. The tiny cracks are amazing.
7. I tore a strip of the White Resist Floral Pattern Canvas and added color using Distress Stains.
8. Remove the backing on the embossed metal and apply to the back of the tin. I used 2 medium sized wooden blocks to raise the Resist Canvas and glued it into place with 3D Matte Gel.
I glued the flower onto a small wooden block to raise the image away from the back of the tin. Glue in the tin with 3D Matte Gel with the photo.
10. This detail shot shows my "Glitter Stash" that's added to the bodice of the girl and bottom edge. This is a collection of left-over Glitter, Glass Glitter and Micro Beads that I keep in a container and use as filler.
11. The Large Flower Mechanical is trimmed and bent in order to add it to the top of the tin.
12. A bit of Silver wire and a vintage typewriter key “J” adorn the top. J is for the child I lovingly named Jane.
13. The large Mechanicals Wings are embellished with some waxes and a vintage button at the base.
I hope you've enjoyed this journey and are inspired to decorate a tin for yourself or a friend.
Be Well and Happy Holidays to one and all.
Your Friend in ART, Linda
Materials used:


7 comments:
This is one cool project! Thanks for the step by step! Love it!
Beautiful!
Gorgeous !
Gorgeous tin, Linda. I have 3 tins in my drawer and I think I will give it a try! I bought the Altoids - which I hate and tossed those and cleaned up the tins and kept them to experiment with.
Linda, all of your techniques and and knowledge of how to use products come together beautifully! Helene
I really like this.....I mean, really, really, REALLY......looks easy, too!!!
Such a sweet project, I love all the many different mixed media things you've done creating it...just gorgeous!
Post a Comment