
Hi there!
Today's layout created by Elena may look very complex and difficult to make but we assure you it's completely possible to make - even for a beginner.
Elena's also sharing a very simple step by step tutorial so we hope you will feel inspired to create with us!

Hello, friends!
Today is Friday and it's my turn to charge you with some artistic energy and inspiration!
I enjoy creating layouts very much! They are quite large, there is enough room for creativity and they are quite fast to create. And right afterwards one can put them straight onto the wall.

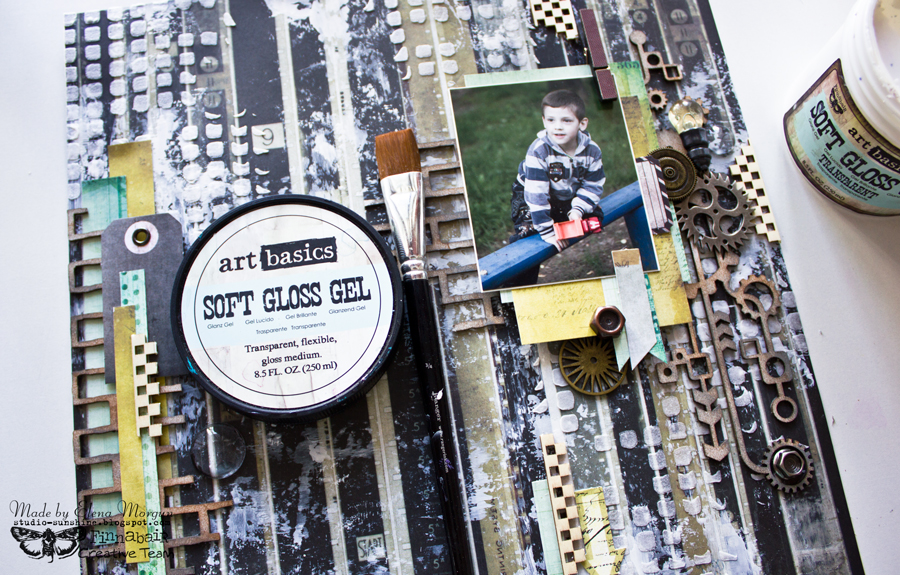
The layouts without flowers are relatively rare for me. This time I decided to change this pattern and create a layout with my son's photo. Chipboards, metal trinkets, papers, tags and stickers by 7Dots Studio became my main embellishments.

So here is my step-by-step photo tutorial for this layout:
1. Spread some White Gesso with a palette knife in random places.

2. Add some texture paste through a stencil in a few places.

3. While the paste was air-drying, I colored my chipboards with Prima ink pads.

4. Next step is adhering the photo and the embellishments to the background.

5. Cover everything with Soft Gloss Gel (the photo as well). The Gel makes the surface non-porous and later on it's very easy to apply paints, alcohol inks, or even crayons.
6. It's time to paint! Firstly, I added some alcohol inks (using Alcohol Blending Solution to make the blurry edges).

7. Adding complexity to the background with the help of acrylic paints and fingers. :)

8. It's time for background stamping.

9. When all the elements find their places and the background is ready, it's time to add some small details.
Sprinkle everything with white gesso and black ink. Adhere some thread. Use 3D Gel to add Micro Beads. Add some stickers.

And that's it!
Some detail shots:


Have a creative and fun weekend!
Hugs,
Elena Morgun
Materials used:
 |  |  |  |  |  |
 |  |  |  |  |  |
 |  |  |  |  |  |
 |  |  |

6 comments:
I am in love with that background...so cool...Thanks for the tutorial!!!
Dynamic layout ! Great !
Wow, what a beautiful layout. It looked quite complicated at first, but as you broke it down step-by-step - it seemed much easier! The photo of your son is adorable. Thanks for sharing.
Appreciate the step-by-step directions as it certainly is easy than it looks. I would like to try it but will have to get the chipboard pieces as have nothing even close available here.
Outstanding Elena!! I love everything about this layout! Thank you so much for the tutorial! xo
This is wonderful. So complex and interesting.
Post a Comment