Hi, it is Art Recipe Wednesday again... but hey, this is NOT all today (exciting, huh?)
Let me start with a little update what is going on here in the last weeks... a lot of things, as usual! I'm moving as fast as lightening to finish last classes planned for this year - those of you who follow me on
Instagram are the most up-to-date with all my adventures :) I've just came back from beautiful France which is not only known for sweet, very social and talented students but also heavenly food (ehm, time for dieting now!) just to re-pack and visit wonderfully foggy and rainy United Kingdom (sure I can feel almost like home there!) and my beloved Rome next week (ha!). In the meantime I'm filling the last spaces in my calendar for 2015 - you can check first of the places I'm planning to visit
here - and working hard to prepare new classes and projects supporting Prima Art Mediums Line and some new goodies during CHA and other, European shows. I wish I could tell you more now!
And now - some food for the creative souls - new Art Recipe!
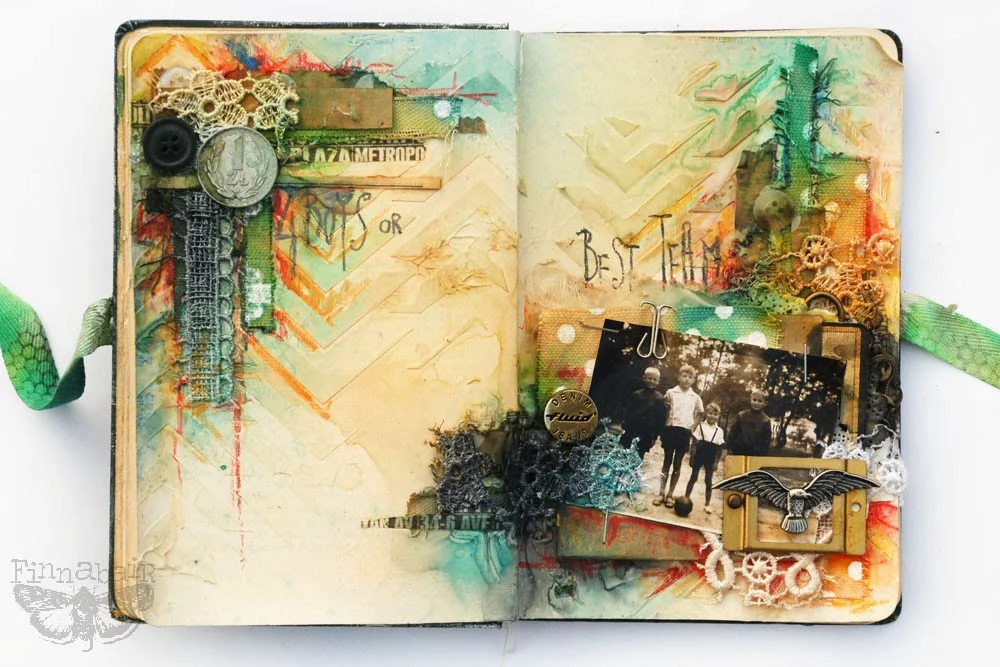
In the meantime between one crazy packing and another I was able to find a moment and create new family journal page - and start officially my
"Practice - Family Journal" which I was showing to you
in this post. I just got a new pile of old family photos to lay with - and of course I couldn't resist! the first one I picked is showing my Dad (first on the left), my Uncle and their friends playing football... priceless! (By the way - aren't they just cute? I adore these short trousers with suspenders!)
As usual I tried not only decorate the photo but also incorporate some
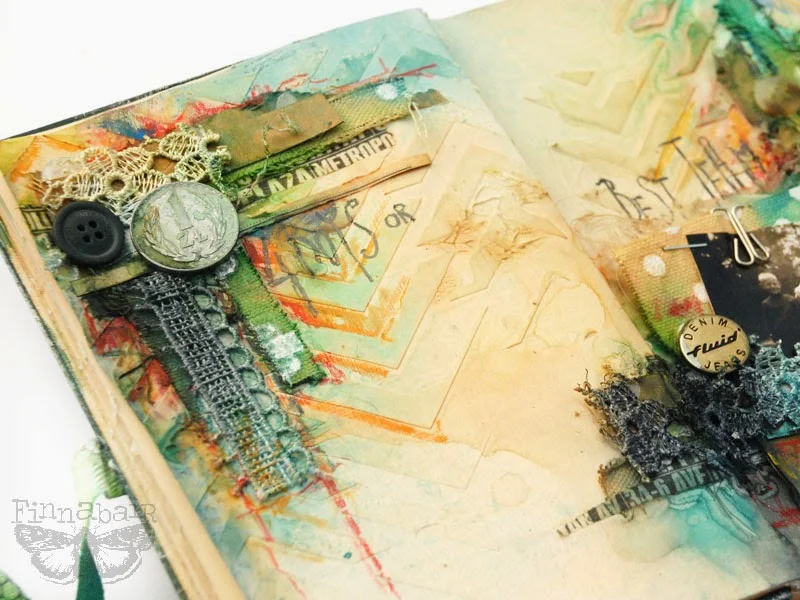
real vintage items in this spread. In the top-left corner you can find old Polish coin which I had in my collection. Paper scraps under the photo are from kraft candy bag, lace and buttons I used are vintage too.
Oh, how much fun I had putting all these things together!
Background textures are made with a chevron stencil and a bit of Art Basics Modeling Paste, which I also used as a glue for some of the bottom layers of fabric and lace. I used mostly
12x12'' Dot Resist Canvas from Elementals Collection, torn into small strips and pieces and small leftovers of the lace I bought on the flea market years ago. The final color of the spread comes from my favorite paint:
tea stain and
Primary Elements mixed with water and sprayed on the pages and a touch of
Watercolour Pencils.
Here is the full Art Recipe for this page - and simple step-by step tutorial of course!
1. I started the whole process with covering my journal pages with 2 coats of
Art Basics Heavy White Gesso. I wanted the old book pages to be really white and protected from inks and paints. when the gesso was dry I was able to spread
Art Basics Modeling Paste through the selected stencil: this way I created nice chevron texture - mostly in the top-left and bottom-right part of the spread.
2. When my Modeling Paste was more-less dry (you can help a bit with heating tool!) I started adding stips of torn
Elementals Resist Canvas , washi tape and small scraps of paper to start the composition. For the bigger pieces I used the same
Art Basics Modeling Paste as a glue. Then I continued with small pieces of vintage lace, more strips and some more paper scraps including paper doilies and pieces of kraft candy bag I had on my table.
3. I used a stapler to attach my chosen photo to a bigger pieces of
Resist Canvas and candy bag. I attached them in the bottom part of composition using
3D Foam Squares (Scrapbook Adhesives) and started adding the embellishments: more pieces of lace, metal and plastic buttons, some
Prima Mechanicals, coin, metal frame with
Prima Junkyard Findings bird on the top. I used both 3D Foam Squares and
Magic - craft glue for putting it all together.
4. To add the color I first took a bit of strong
tea stain in the bottle and sprayed selected parts of my page - mostly fabric elements and background texture. Next I mixed selected colours of
Primary Elements (Ginger Peach, Teal Zircon, Bolivian Blue) with water and sprayed the project. Art Basics Modeling Paste is resistant to the water based inks and sprays so the "floating" colours effect was really interesting. I added a bit of
Black Soot Distress Reinker mixed with water to add a touch of black color too!
5. I dried the project and started adding finishing touches: text and a bit of shadows were made with a very
soft pencil.
Watercolour Pencils (Faber-Castell) added a bit of boost and contrast - mostly around the photo and in the opposite corner. I simply love that effect!
And now time for a little announcement... :)
We all live in different countries, on different continents and in different time zones. Which makes it impossible for us all to meet in person and chat. So we came up with a little something. :)
My Creative Team does such an amazing job preparing tutorials, videos and step-by-step posts but perhaps there is something more you would like to know?
So here's an idea:
You will have one week ('till December 3rd) to ask our Creative Team any questions that have been on your mind. You can ask about techniques or projects or maybe simply you'd like to get to know these super talented ladies better? :)
If there's anything you'd like to ask, leave a comment under this post (you can direct it at a chosen Designer or ask the whole group). We will then gather all the questions and answers in one separate post and we'll imagine that we're sitting over a cup of tea chatting. How does that sound? :)
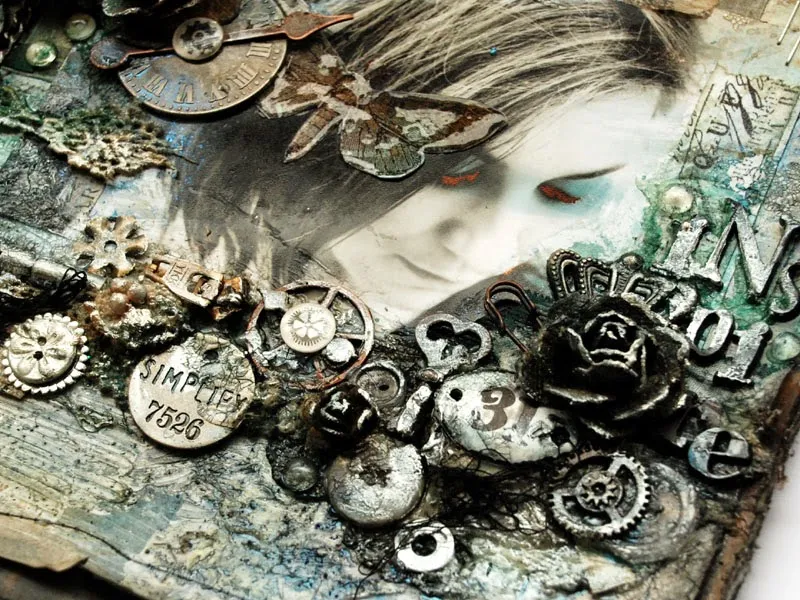
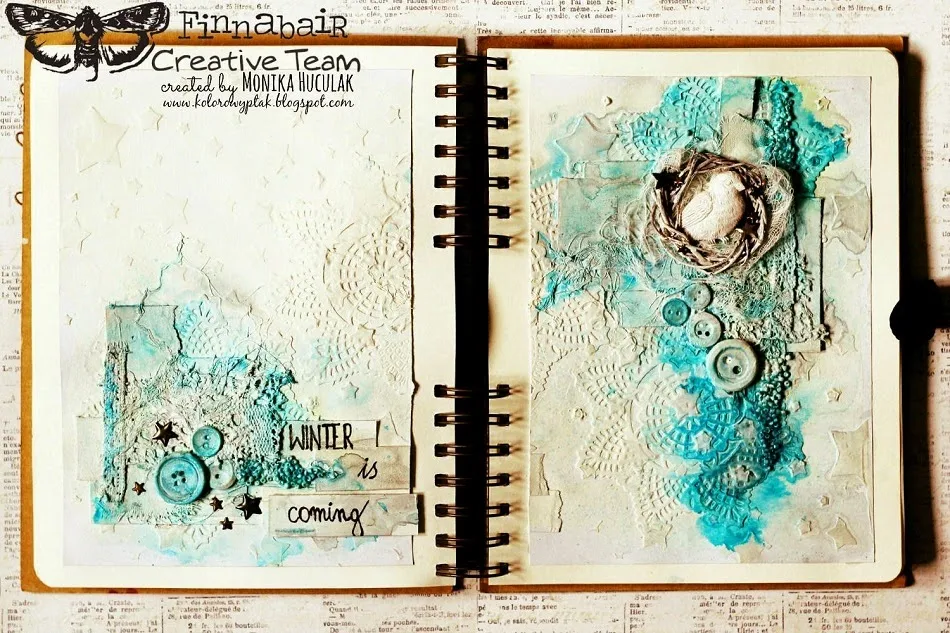
Here's a little reminder what the Creative Team presented so far:
You can also browse our
Pinterest board and our
You Tube channel.
We are so looking forward to your questions!
Sending warm hugs to you all!


