Showing posts with label Teabag Art. Show all posts

Wednesday, 27 June 2018

Mixed Media Minutes - Vintage Gift Bag - Live Show Tutorial

Hi my loves...
I know, I know... I promised to upload this video on my YT as soon as possible but this REALLY took far too long this time. I know I should blame my travels and new release coming (have you seen the sneak peek yet???) and some backstage works on the new product, but anyway - my apologies.
I honestly hope you will forgive me and this short break will just give you more energy and your creative juices will flow even faster!

Let's have a look at the project then.
It's a lovely mix of careless stamping, crazy layering - fabrics, papers and embellishments - and finally final touches including my favourite Art Ingredients - Mica Powders and Micro Beads. I wanted to achieve the careless, freestyle and vintage look - so perfection and precision in this kind of project were not really necessary. As you can see, I could not resist and I've used new collection from 7 Dots Studio - Air Mail. Muted tones and vintage postcards inspired paper collection was a perfect choice for my altered paper bag!
If you will get a closer look at the details you may notice I added some found objects into the composition as well - there are some rusty pieces of wire and old nails included. I love to add elements like this into my projects - it is a touch of authenticity, getting closer to the real story, which these photos and elements could tell us all. I am a huge fan of everything vintage and you can find really a lot of unusual objects in my collection... some of them are just for decoration, but most of them is waiting for their turn to be used in the project!
Can you see these beautiful colour accents? These are new Prima Washi Tapes from Prima Travellers Journal collection (yes, I had to get them all). For or the extra sparkle I've used Micro Beads glued to the surfaces with my old faithful Art Basics 3D Gloss Gel. Do you know it is a perfect adhesive for any kind collage? It dries clear and it is easy to apply - with a palette knife or fingers!
Let me show you the whole process step-by-step now.
Here is the recorded and edited version of my FB Live tutorial - I hope you will get inspired and create a lot of beautiful, vintage and freestyle projects!


For your convenience here you can find most of the products I've used during the creating process - all linked to Mixed Media Place Online Store


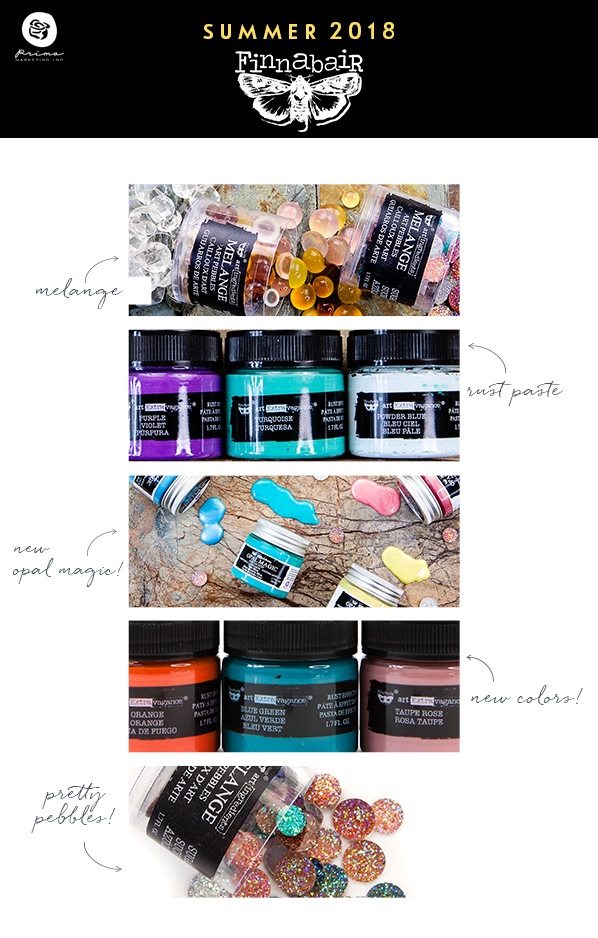
Before I go, there is one more exciting thing happening now... the new release is coming! Have you seen the sneak peeks already? I can't barely stop myself and show you all... but I'm told to wait until next week. Sigh.
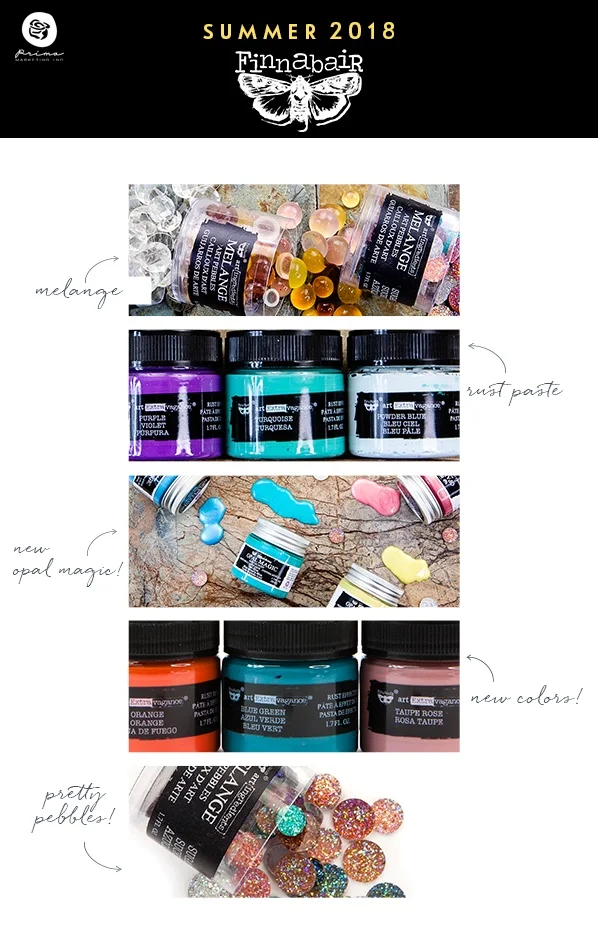
What do you think...any favourites so far?
Sending lots of love

SaveSaveSaveSaveSaveSaveSaveSaveSaveSave

Wednesday, 13 September 2017

Struggling - mini collage (altered chopper)

Hi, my dear ones.
I'm back with a small collage on a bit unusual surface - I picked one of my flea market findings off my wall and decided to work directly on the old kitchen tool! I'm not 100% sure what kind of knife or chopper is it but when I saw it waiting for someone to adopt it on one of the car boot sales I knew I had to take it home... so here it is!
It's not easy to explain the inspiration behind it - if I can I always try to create following my moods and feelings, and this time was no different. I've picked the first elements that were calling my name, I added the text I've found in my little tin box - I think the closest translation of these Polish words will be "she is struggling/swaying" - and that would describe me in the last days or weeks perfectly. It was meant to be, I believe!
I didn't use many supplies to decorate it, to be honest. I loved the look of it anyway and I didn't want to cover it too much. I didn't even touch the old wooden handle - I've just picked the photo and focused on creating a small composition on the old, rusty and dirty blade.
I've used mostly only layers of old lace, metal embellishments (Mechanicals from Prima) and delicate touches of Art Basics 3D Gloss Gel, to add extra texture to the blade of the rustic tool. I'm really happy with the choice of the stencil with some text - I think it is adding a lot to the whole look, it's intriguing, a bit mysterious.
All the colours you can see are a mix of my favourite, home-made tea stain (very strong black tea infusion), Art Extravagance Patina Effect Paste and Rust Effect Paste diluted with some water. I love the look I achieved on the lotus flowers - aren't they amazing?
Extra metallic touches are done with Art Alchemy Wax- in Rich Copper Colour. I added just a tiny bit, to match the natural colours of the nails in the wooden handle.

Have you got any items which are waiting to be used or decorated for ages? Maybe it is time to take the dust off them and put them on your table, so they will finally have a chance to shine, to go to full glory? Looking through your hoarded supplies, findings and "I'lluseits" may be a great source of inspiration and surprises... how many times you re-discover the things which you completely forgot you have? It's the story of my life!


Here is the short list of the supplies I've used for this project - all linked to Mixed Media Place Store of course!

Wishing you all a great, creative week... btw, make sure you will check this space this Friday, something BIG is coming!
huge hugs

Wednesday, 16 September 2015

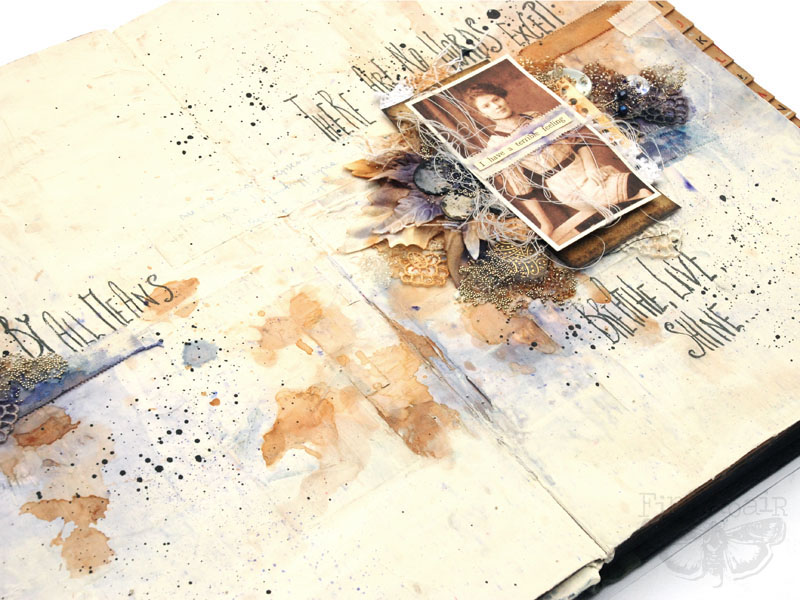
Art Recipe: Breathe, Live, Shine - art journal pages

Hi again, my sweet visitors!
Inspiration indeed comes in all shapes and sizes.
Yesterday I learnt from my dear friend that 15th September is World Lymphoma Awareness Day - and when looking online I realised, there aren't many supporting badges, banners, uplifting pictures dedicated to this problem - at least comparing to many other important causes.
Feeling a bit disappointed and not satisfied with the selection - I decided my best friend (and a brave fighter) needs to get a proper greeting card, tailored to our needs, taste and attitude. That's how the short story started.

First of all - what message should I put? This is one of the hardest decisions and as I knew wonderful Empathy Cards by Emily McDowell I decided to go more this direction. If you don't know them by now - check them out - you may feel it is "your sentiment exactly".
I've decided to go nice, soft, but to the point.


In my eyes, the whole page scrams in capital letters about the situation my friend is in. It is my interpretation, my way of discussing the problem and our way of talking about it.
No place for negativity. Eyes set on the goal. Breathe. Live. Shine.
Fighting - but gracefully and with dignity.


Colours I've decided to use are a custom mix of my favourite homemade tea stain and Primary Elements Pigments in shade of Wild Plum purple (colour for Hodgkins Lymphoma) applied on Art Basics White Heavy Gesso. I've also added a bit of Black Indian Ink for extra contrast and texture.


There are tons of Art Ingredients Glass Beads and Micro Beads added - I used only Art Basics Soft Gel to keep them in place and it worked perfectly, as always.
What is interesting - I tried to be a bit more minimalistic this time - and again, it simply didn't happen! Not only the journal is a bit oversized but also the layers got a bit out of control...


I'm pretty pleased with the result - and I hope you will forgive me you had to wait longer than usual for my next tutorial. My travels, designing and simply - life - took over and I couldn't go any faster. Feel free to pin it, share it with your friends - sharing is caring ;)


So here's my brand new Art Recipe - enjoy! 


 And now the whole process, step-by-step
(photos enlarge if you click on them):

1. I've started with cutting some paper scraps into smaller pieces. I chose some printed Ephemera cards, some tags and random pieces of paper with hand-written notes on them. I started layering them and gluing them down on my art journal pages using Art Basics Soft Gel to create multi layered look. When I was happy with the result I covered my scraps with extra coat of Soft Gel - to make it easier to apply a very thin coat of Gesso in places I'd like to keep more visible. I dreid the pages with heating gun.


2. When the pages were dry I took Art Basics Heavy White Gesso and applied a thin coat over them - palette knife was perfect for that. I dried the surface, checked how much of the pattern is visible and repeated the step in selected places. I dried again - and this time I added some stains and splatters in beautiful brown colour - I used my home-made tea stain of course!


3. When the surface was dry I continued the proces of colouring the background by sprinkling a bit of Primary Elements Pigments (Wild Plum) and spraying it with water. After drying I applied couple more coats of Art Basics Heavy White Gesso in the selected places and again a bit of tea stain... and again gesso - until I was happy with the results! When the background looked the way I expected I picked a photo from my "Vintage Collectibles" Ephemera pack, some text cut outs, lace and more paper scraps including elements from "Melange" Ephemera set.


4. I started to layer my scraps of lace, papers and some paper leaves. when I was happy with the composition I added couple of buttons - and finally decorated everything with loads of Art Ingredients Glass Beads and Micro Beads: I applied Art Basics Soft Gel with a brush and sprinkled the beads in selected places. When Soft Gel was dry I added a little more of Primary Elements Pigments and Tea Stain on the top of them  to give them a bit of colour too.


5. I dried all the composition with heating gun and added some finishing touches: I wrote the sentiment with a soft pencil, I splattered a bit of Black Indian Ink and finally, when the pages were dry I used 3D foam tapes to mount my photo in the middle of the composition.


And here it is, finished!I hope you like it :)


Finally  - here is the list of the product I used - all of them are available in our Mixed Media Place Store:


I wish you all a great week - I'm off to the Netherlands in a couple of hours where i expect to meet a bunch of wonderful people:) In the meantime I can tell you a secret: new Creative Team Memebers will be announced  soon...
Sending warm hugs

Related Posts Plugin for WordPress, Blogger...