Monday, 23 August 2021

In other words by Olga Sępkowska

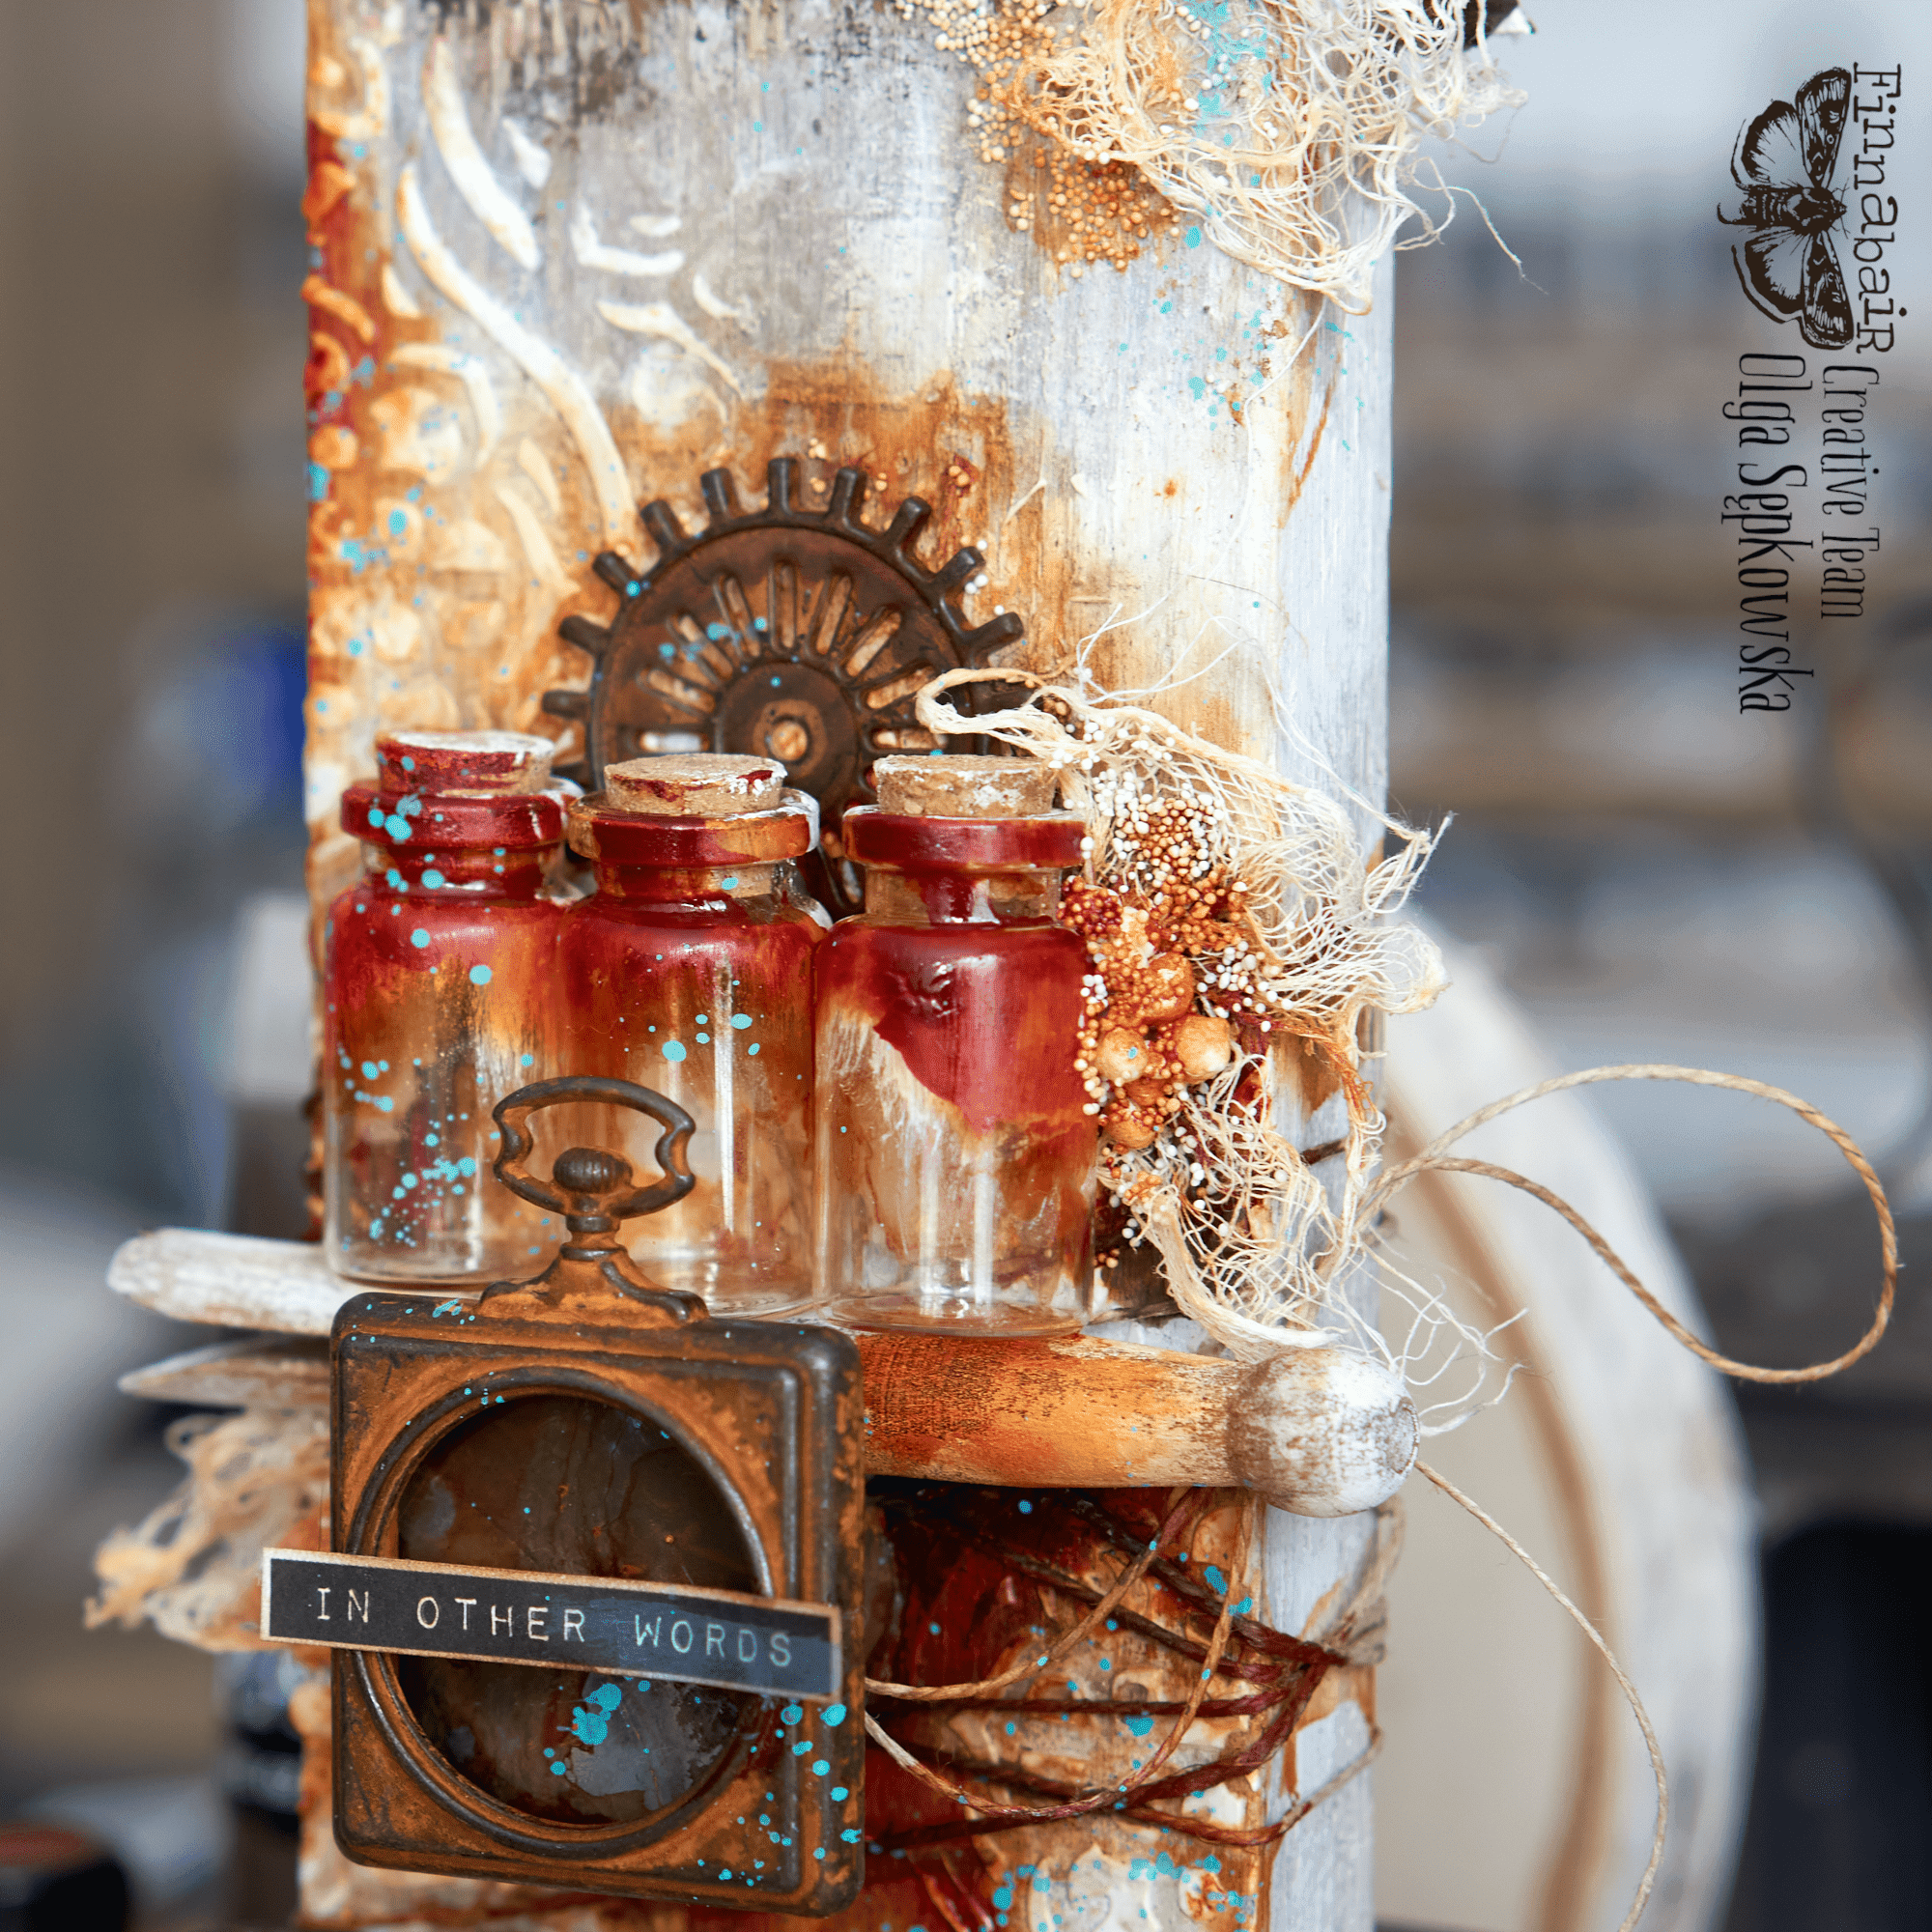
 An old piece of wood became the beginning of a project whose meaning can be interpreted in many ways. One might ask who the couple on top of the house is. Perhaps they are phantoms trying to scare off uninvited guests. On the other hand, maybe they are people who are guarding some kind of secret. Rusty objects, bottles, gauze imitating dust and empty watch pockets. All arranged in a curious way, maybe this is a time machine? Or maybe they're running some kind of experiment. What do you think this project is about?

It's not often that I get to create projects without castings. This time I managed to do it. Although there was a moment when I held a few resin cogs in my hand. I stopped myself. I wanted to give a special meaning to each element I was placing on the project. In the video you can see every decision I made when it came to the composition. The first idea that pops into our heads isn't always perfect. Sometimes it's worth taking a moment and asking yourself if I'm happy with what I've put together. 


Have you seen the new stencils? "Victorian tiles" is perfect for rustic projects and when I was done I was so glad I chose it. I also used a matte wax from the new collection which allowed me to age the couple's photo and the loft. 
All the steps of creating my project can be seen on the video, of course: 


Hugs!

Olga


Products I have used - all the images linked to Mixed Media Place online store:

Friday, 20 August 2021

Enchanted Journey Upcycled Jewellery Box by Iveta Ziedina

Hello my friends!

Today I bring to you another upcycled project, jewellery box I found at my local junk supply store haha!

I used a lot of earthy toned liquid acrylics to paint the box in matching colours to the tissue paper I used and my favourite discovery was that watered down liquid acrylic worked amazing for repainting the lining of the box!


I hope you will enjoy this project and that It will give you inspiration and some ideas for an up cycling project of your own!


Lots of love,

Iveta xxx


Products I have used - all the images linked to Mixed Media Place online store:

Wednesday, 18 August 2021

Book of Whispers by Emilia Tapiola

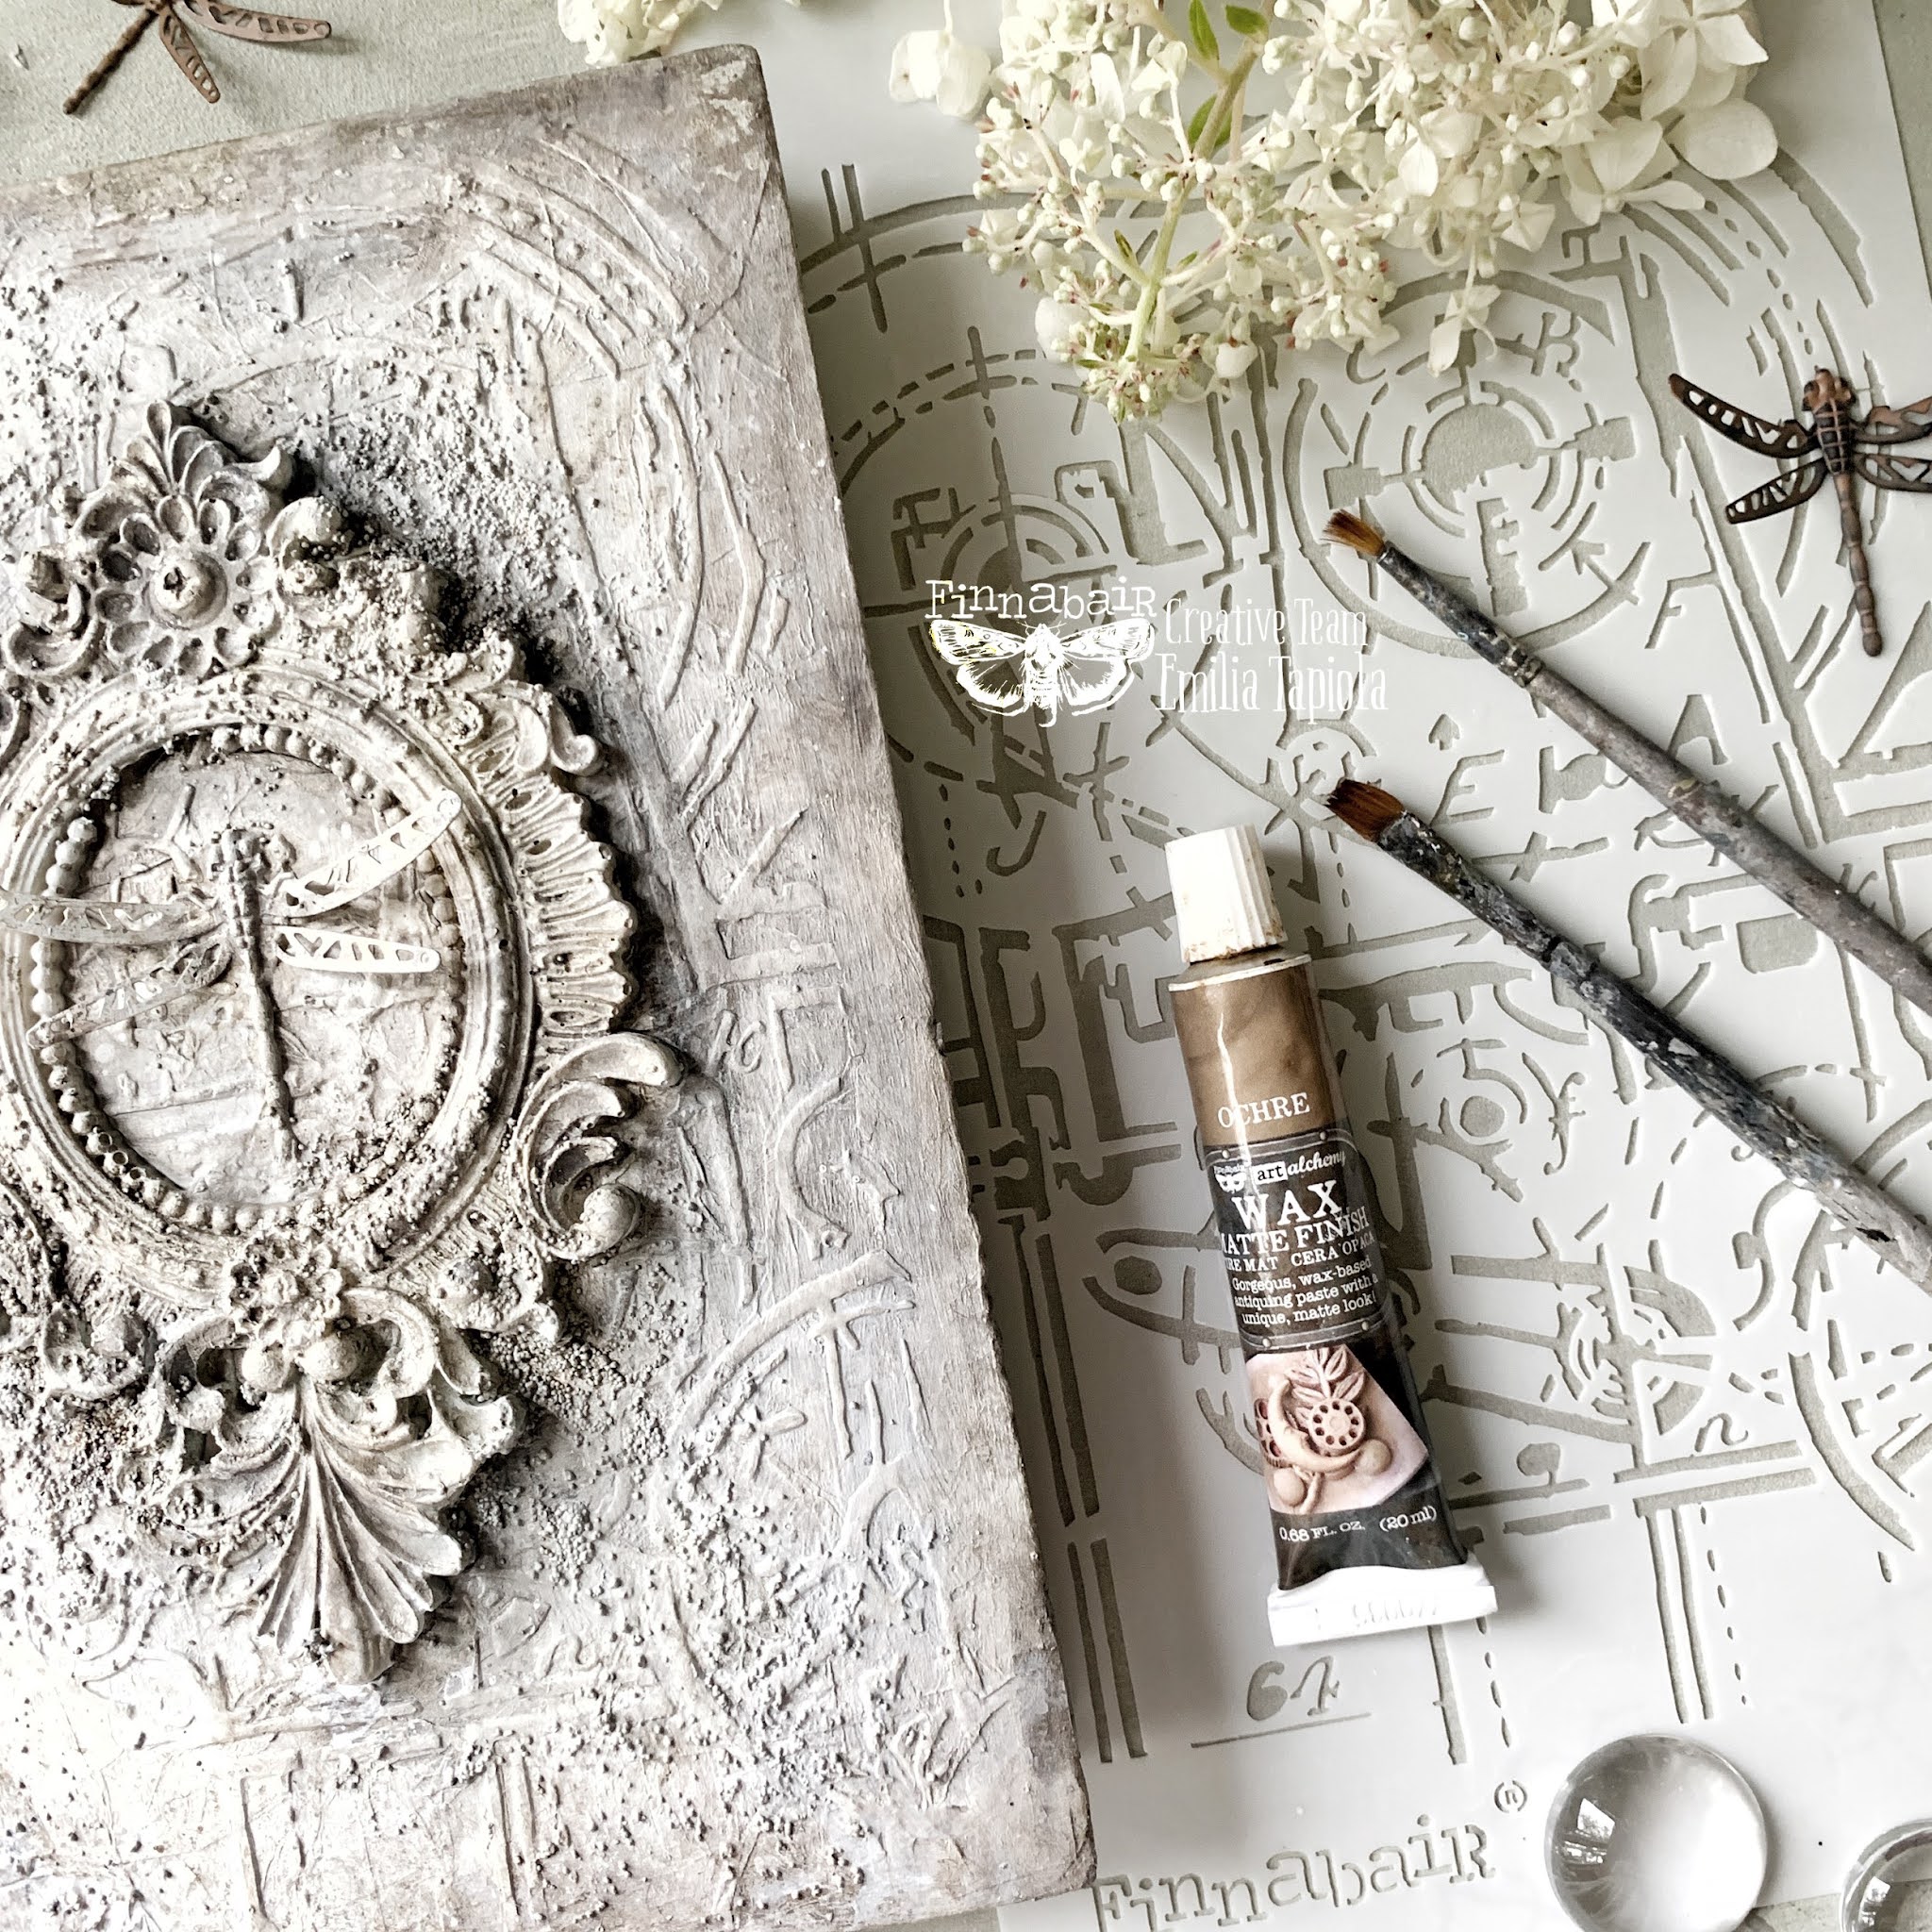
 As much as I love creating art journals, I do adore the moment I can concentrate on the cover and make it look like a gate to a secret world. I only do it after the actual journal, to be able to make the cover tell the same story that’ll be in the inside. However, now I needed to make an exception: I had an altered vintage book project on the making but the vintage leather cover leaked colour badly and stained everything. Why not to create something as my Creative Team project, I thought, and simply started filming the process!

I started with covering the vintage book covers with tissue papers, to prevent the crumbling leather to leak through badly, and attached it with Soft Matte Gel, making sure the tissue paper crinkled nicely to make an interesting background. Then I primed the covers with white Heavy Gesso to give a sort of blank starting point to work with. 

I used the gorgeous new Machinery stencil with Modeling paste to create a patterned look for the front cover. (The back cover I left without stencil; the crinkled tissue paper itself is such a beautifully simplified effect.) Next, I chose the embellishments and ended up using only the simplest of composition: a large Grungy Frames mould frame and a Scrapyard Dragonfly attached with Heavy Body Gel, and a tiny amount of Mini Art Stones scattered around the frame with Soft Matte Gel.

Painting is one of my favourite things in the whole wide world, so of course I painted several layers, first mixing Impastos Snow White, Linen, and Manor Blue with a tiniest hint of Dark Chocolate, to give the cover a light stormy sky grey wash, and then using Dark Chocolate and Pitch Black adding shadowing to the cover edges and around the frame. And, because I love layers, I mixed Liquid Acrylics Ink Black, Umber, and Burnt Sienna for more vintage-ish distressing effect, and with a baby wipe and spray bottle added a gentle paint layer to the covers, highlighting the stencil pattern and Mini Art Stones. 

With a hint of Ochre and Vintage Silk Waxes, I highlighted the frame and the cover edges, and splattered some white acrylic paint for the cover as a finishing touch. 

And that was it. It was a quick project, a fun one. The new Machinery stencil has such a beautiful, airy light and versatile pattern that it does not need much else to make a lovely, harmonious composition and I can already see this is going to be my favourite stencil for all kind of projects!

Here’s my tutorial: 

Thank you for popping by!

Emilia

Full list of supplies with active links to Mixed Media Place store:

Related Posts Plugin for WordPress, Blogger...